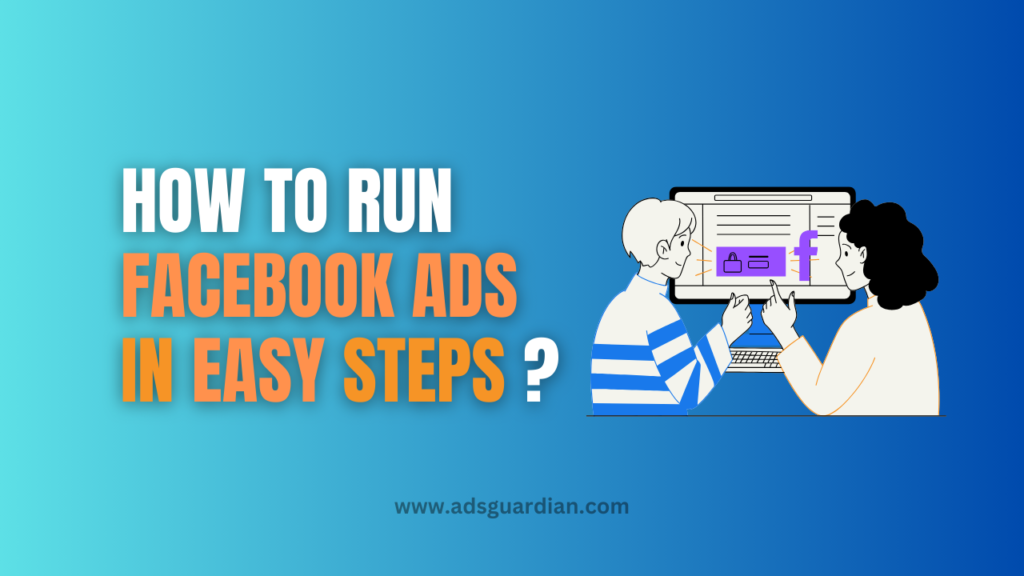
Are you just starting out and don’t know how to run Facebook Ads, this article is for you.
Facebook Ads were first launched in November, 2007 and now it’s been known as Meta Ads – a primary channel for businesses to grow their sales and brand value. Facebook has more than 2.89 billion users and running paid ads on the platform has become a cost-effective solution to reach, engage, and sell target customers.
Running Facebook Ads has become super easy in 2024, thanks to simple user interface. However, as beginners, many people get overwhelmed and still can get confused while setting their first Facebook Ads Campaign.
Don’t worry..the AdsGuardian team is here to make it super easy for you. So that you can start your Facebook Ads journey smoothly. Let’s start –
What are Facebook Ads?
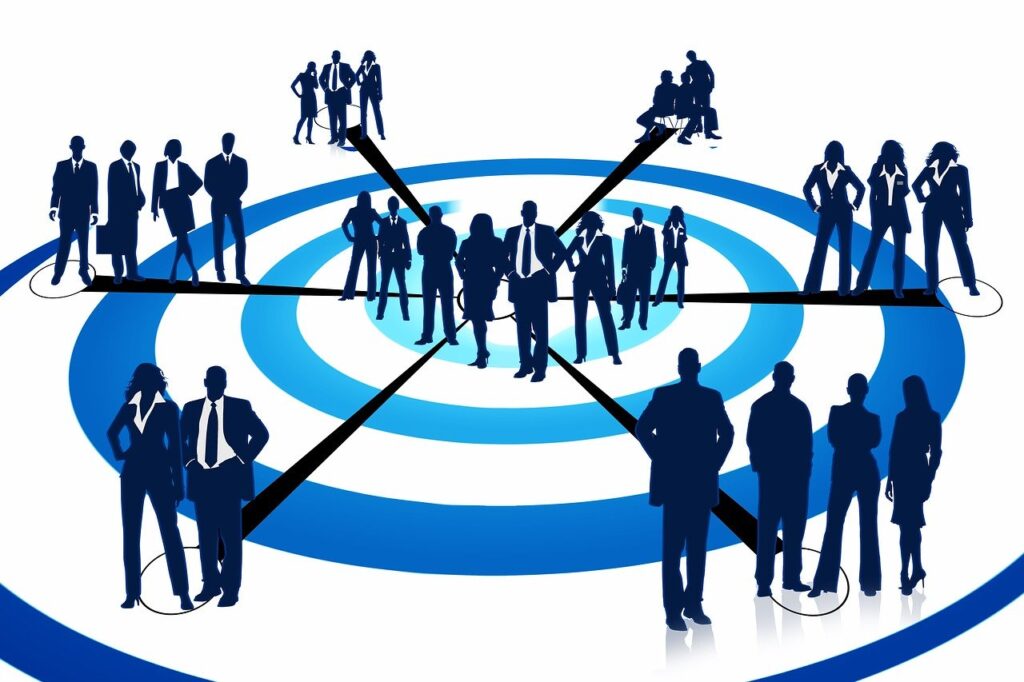
Facebook Ads are a powerful tool for businesses looking to expand their reach and engage with targeted audiences on various Meta-owned social media platforms. These ads enable businesses to promote their products or services effectively, driving traffic, leads, and sales. Meta has more than 4 social media platforms under its umbrella which are Facebook, Instagram, WhatsApp, Messenger, and Thread (recently launched) with a combined user base of more than 7.5 billion.
Anyone can run Facebook Ads on the platform, but for an impactful result, AdsGuardian recommends you to use Facebook Ads Manager for better control. Ads Manager acts like a tools hub on Facebook that allows you to create, set, and launch ads to promote products and services.
Prerequisite for Running Facebook Ads
Before we jump over the step-by-step guide to run Facebook Ads, there are some initial requirements. Facebook doesn’t allow ads from personal accounts. Here are eligibility criterias for running Facebook Ads using Ads Manager dashboard –
- Need a Facebook Account (Create or use your existing one).
- Need a Facebook Page (Create or use your existing one).
This is the point where you might make a few mistakes and your Facebook Page gets suspended by Meta for ‘Policy Violation’. This happens when the Facebook algorithm detects any suspicious activity.
Since the algorithm is a computer code, it can even suspend your account, no matter if you’re genuine or suspicious. To protect you from such actions, here are few tips to avoid Facebook page suspension –
- Optimise your new Facebook profile by adding a professional image and bio.
- Fill out your page information with business details and contact information.
- After 2-3 days, connect your page to your Instagram profile and start posting there as well.
- Avoid joining too many Facebook groups, as this could trigger suspicion from the algorithm.
- Post consistently on your page for at least one week, focusing on engaging content without using too many links in your captions.
Now you’re ready to directly run Facebook Ads through Ads Manager. If you’re constantly getting suspended on the same profile, we suggest creating a fresh account and try to create a page from a different internet IP or device.
Step-By-Step Guide on How to Run Facebook Ads:
To get started with Facebook Ads, you need to login to Ads Manager with your Facebook Account. Before directly jumping over the campaign, we suggest you get yourself familiarised with the interface and different options.
Step 1: Create Facebook Ads Manager
Follow these steps to setup Facebook Ads Manager –
- Go to “Facebook Ads Manager”
- Confirm account & page information.
- Complete payment and billing details.
Once you save all the changes, you see different options there. But as a beginner, you need to focus on 3 options – Campaigns, Billing & Payments, Events Manager under All Tools section in the left side of the interface.
Campaigns: This option is essential for creating, selecting, and modifying campaigns. Clicking this option allows you to view both past and current campaigns.
Billing & Payment: Use this option to add funds using various methods such as Credit/Debit Card, Net Banking, and UPI (in India). You can also view your transaction history, including date, amount, and transaction status.
Events Manager: Located in the All Tools section, this option is used to create Facebook pixels and track conversions on websites, apps, and other channels.
Step 2: Start a New Campaign
Once Ads Manager Account is set up properly, you’ll see all the campaigns on screen created previously. Since we’re just starting out, you’ll see a blank screen with a green ‘Create’ button. But before starting a campaign by clicking on the button, make sure your Ads Account is selected on top of the screen.
Follow these steps to create your first campaign –
- Log in Facebook Ads Manager
- Go to Campaigns option.
- Click on the green colour Create button.
A pop-up comes out asking to select the objective of the campaign. An objective is defined as the ultimate purpose of advertisement like engagement, sales, or drive traffic to your website.
Step 3: Choose Campaign Objective:
After clicking on the create button, you are required to select the campaign objective. Facebook has designed this interface to cater different business needs. There are 6 options you’ll find during selection of business objectives. From brand awareness to app installs, sales to lead generation, each has different objective options.
Here is a list of all the objective selection options you’ll find during campaign creation in Facebook Ads –
- Awareness
- Traffic
- Engagement
- Leads
- App Promotion
- Sales
Let’s understand each objective and when to use them.
Awareness: Facebook shows these ads to people who’re most likely to remember your brand. This objective is used to greater reach, more video views, and brand awareness.
Traffic: These ads are shown to people who’re most interested in visiting certain URL destinations. It could be your website, mobile app or social media profile. The objective of this option is to get more link clicks, landing page views, and calls.
Engagement: Selecting these options helps businesses get more messages, post likes, comments, video views, and text responses on Facebook, Instagram, and WhatsApp.
Leads: Most suitable for services based startups and companies. This option helps brands collect leads through instant forms, landing page conversions, calls, Facebook and Instagram messages.
App Promotion: Good for companies and brands who have a product or services in the form of mobile application. After selecting this objective, Facebook helps to find people who might install your application and use that.
Sales: Selecting this option, you can expect to get conversions and sales on product pages. Facebook tries to find people who might be interested in your product or service and finally buy it.
Our 80% clients are more interested in either Leads or Sales objectives. While, we recommend running some engagement or awareness ads in initial days if you have started a fresh Facebook Page account. It will not just help you gain starting followers, and page likes but also help algorithms to identify which type of people are interested in your business.
In next steps, we’re selecting the ‘Traffic’ objective but you can choose as per your requirement. The process is the same to run Facebook Ads for any campaign objective.
Step 4: Setup Budget & Schedule
Once you select your business objective, you’ll find two options for campaign setup: First a preset Advantage+ (recently introduced) and other manual setup. Select manual setup and then ‘Continue’.
You’ll get the option to change Campaign name. The campaign name can be anything, but it is recommended to rename with something meaningful. It helps you remember what the campaign is about in future when you check back.
Follow these steps to set up budget and timing –
You’ll see two options again – A/B Test and Advantage Campaign Budget.
- Turn on ‘Advantage Campaign Budget’ option.
- Select Budget Type and Amount.
- Set the Ad running time from ‘Ad Scheduling’.
- Click the ‘Next’ button.
Turning ON ‘Advantage Campaign Budget’ option allows facebook to allocate more money to best performing ads and spend less on poor performing ads. This way, you’ll get better returns in the same budget.
There are two types of budget: Daily Budget and Lifetime Budget. In the daily budget, Facebook spends money on Ads within 24 hours. In the lifetime budget, it’s up to Facebook how it spends money in how much time.
Step 5: Select Target Audience
Next process after budgeting the campaign is to select the target audience to run Facebook Ads. This is the ad set level which you can rename as well in case of multiple ad-sets in one campaign for multiple target testing.
Next select the conversion location to send traffic. In Facebook Ads, when targeting an audience, before that you’ll get 5 different options which are website, app, messaging app, instagram profile, and calls. At AdsGuardian, 90% cases campaigns with traffic objectives select the default option to the website.
Follow instruction to target audience –
- Go to the ‘Advantage+ Audience’ option.
- Set age range, gender, and geo-loaction.
- Suggest Facebook possible interests, behaviour, demographic.
- Click the ‘Next’ button.
Make sure the audience size must be a minimum of 100,000. Even Meta suggests an ideal audience size of 2-10 million for better results. There are other options to ads placement control, but you can skip this time as we’ll again get the option to include or exclude ads placement in the next step which is setting ads and creatives.
Step 6: Create Your Facebook Ads
This step is ad level and each ad-set can have multiple ads. In this step, you have to upload creatives and paste a destination URL (in case of traffic). There are three types of creative you can upload and run Facebook Ads.
- Single Image or Video.
- Carousel.
- Collection.
In 90% of cases, you run either single creative or carousel only. Make sure that page you’re seeking to run ads on, is selected. If you have multiple pages, then you can click on the ‘Identity’ option and select the appropriate page from the dropdown.
Step 7: Publish & Monitor Analytics for Reporting
After selecting your ads and placements, hit the ‘Publish’ button. Facebook Ads goes under review and if everything is right, it gets approved and starts running. Now you monitor, optimise and prepare reports of the Facebook Ads Campaign.
According to Meta (Facebook), these are key metrics that must be keep in mind –
- Performance: Customise this metric to track frequency, results, reach, and impressions.
- Engagement: Monitor page likes, engagement, and post performance.
- Videos: Track video views and average view duration.
- Website: Measure website actions such as checkouts, payment details, purchases, and cart additions.
- Apps: Include metrics such as app engagement and installations.
- Events: Monitor event responses and cost per event.
- Clicks: Report total and unique clicks, CTR (click-through rate), and cost per click.
- Settings: Access important information like start and end dates, ad set names, delivery, and more.
Final Notes:
Congratulations! You have published your first Facebook Ads. Now you know what Facebook Ads are? What are simple steps and options that you can use to launch your campaign and make it successful for your business. You also know the prerequisite to launch an ad campaign on Facebook and tips to prevent from getting suspended by the platform. Finally, you also found the important KPIs to measure the success of a campaign. Note that not all these KPIs (Key Performance Indicators) can be used for all objective types.
Still facing difficulty or want our team to review your running Facebook ad campaign for FREE? Get in touch with the AdsGuardian team at +91 6386665700.